

Imagine you have got the best lighting, your camera is rolling, and your delivery is on point, but only the playback audio is thin and full of background noise.
It is one of the most frustrating things for any vlogger, influencer, podcaster, or educator. As a content creator, you might understand the importance of great audio. A great video is nothing without quality audio with no background sound. This is where the microphone lavalier enters the picture.
Lavalier microphones, also known as lapel mics, are small, powerful, and easy-to-use mics that give you studio-quality sound. In this blog, we will share some of the best lavalier mic placement secrets and top tips for getting pro-level audio for your content every time. So let’s get started.
Why Choose a Lavalier Microphone?
When it comes to recording clear and professional quality audio, not all mics are the same, especially when you are travelling or multitasking on the set. That is where the microphone lavalier shows up. This is the reason why a lapel mic is a go-to choice for content creators, videographers, and presenters.
If you are a beginner content creator, then a lavalier microphone is the best option for you. Simply pair it with a phone gimbal, and now you have your own setup that delivers quality video and clear audio at the same time. Let’s check out some of the other reasons to choose a lavalier microphone.
Hands-free Recording
Lavalier mics can easily clip onto your shirt’s collar, tie, or jacket and allow you to record your content without any hassle. These mics are best for walking shorts, online lectures, live presentations, or interviews.
Consistent Audio Quality
These Lavalier mics help you deliver more consistent audio in comparison to camera mics and boom mics. This consistency is important when filming in different environments, such as recording, travelling and adventures, blogs, interviews, or outdoor shoots with a wireless mic system.
Discrete
The discrete nature of lavalier microphones is one of the powerful factors that helps you to keep your focus on your content and not on the gear. These, my bikes, can easily be hidden under your clothing without compromising on the audio quality.
Flexible
No matter whether you are using a DSLR, mirrorless camera, or your smartphone to record your content, lav mic can easily be connected to the setup by using the right adapter. These systems allow you to shoot flexibly with no tangled cable and no limit to movement.
Essential Equipment Checklist
Getting the right equipment and tools is essential for quality audio. Whether you are filming the content with a camera, smartphone, or DSLR, there is some equipment that can make your microphone lavalier shine. Let’s check them out one by one:
- There are two types of lavalier microphone systems, namely, wired and wireless. Wired lav microphones are more affordable and reliable, whereas wireless options offer more freedom when paired with a phone gimbal.
- Monitoring headphones are one of the essential equipment that is used for checking sound levels while recording.
- Equipment such as an adapter and splitter can ensure that your lav mic is compatible with your smartphones, cameras, or pro audio gear.
- Tools such as clips, tapes, and window screens are essential to attach your microphone and cover and block wind noise.
Lavalier Mic Placement Secrets
The location of the microphone lavalier can also make a large difference in the quality of sound. If the mic is in the right position, you can get natural and crisp audio. On the other hand, if done wrong, your audio can be noisy, distorted, and muffled. Let’s take a look at some of the best mic placement spots:
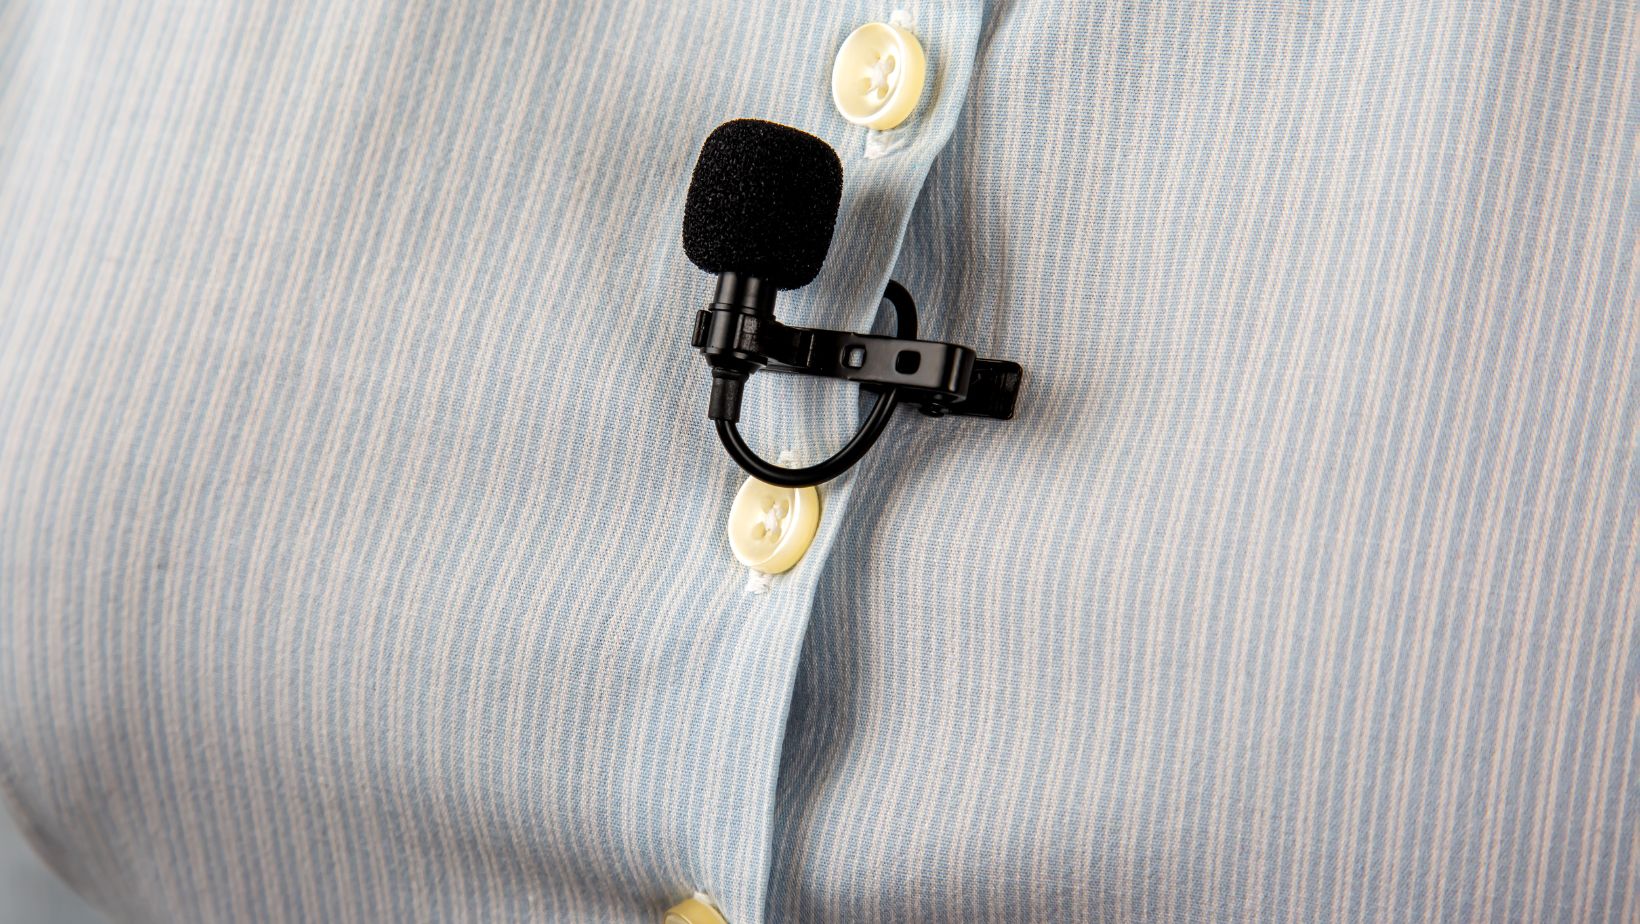
- The best place to set your microphone is 6 to 8 inches below your chin. You can clip your mic to the edge of your shirt, jacket, or tie.
- To ensure a cleaner look, you can hide your mic underclothing. However, while hiding, make sure that the fabric doesn’t rub against the mic to avoid any distortion underclothing.
- If you’re using a wireless mic during your outdoor shoot, make sure you place it in the dead centre to save it from picking up too much noise from one side.
Common Mistakes to Avoid
- Letting your mic rub against your clothes while shooting,
- Not clipping your mic at the right position.
- Facing away from the mic position while speaking.
- Protecting Mic against the wind while shooting outside.
Tips to Get Pro-level Audio Every Time
Solid mic set up and good placement does not ensure quality audio every time. There are several techniques that you should be aware of that can take your audio from a normal to a professional level. Let’s check out some of the top microphone lavalier tips to get pro-level audio every time.
- Make sure you use headphones to check and monitor your audio in real time. Many setups, such as phones, Kimballs, and wireless systems, include headphone jacks for the same purpose.
- If possible, use a wireless microphone as it allows you to walk, turn, and move without worrying about extra cables. A wireless microphone is very helpful for solo content creators to fill their shorts flexibly.
- If you’re shooting outdoors, make sure you use a formal windscreen or a dead cat cover to prevent your audio from wind noise.
- If you are recording your audio separately from your video, then make sure you always clap at the start of or take. This will help you to edit your footage easily in post-production.
Conclusion
With the right setup and techniques, a microphone lavalier can deliver the professional sound that can enhance your content. Lav microphone is a lightweight powerhouse that can easily fit into your creator’s kit, whether you are using a phone gimbal to stabilize your shot or adding freedom to your workflow with wireless mics.
Follow the tips mentioned above to level up your audio quality and explore the best lav mic placement secrets, and you don’t have to worry about sound quality ever again.


")


