How a Passport Photo Maker Turns a Smartphone Picture Into an ID Photo
 Fyrconthius Lazenquill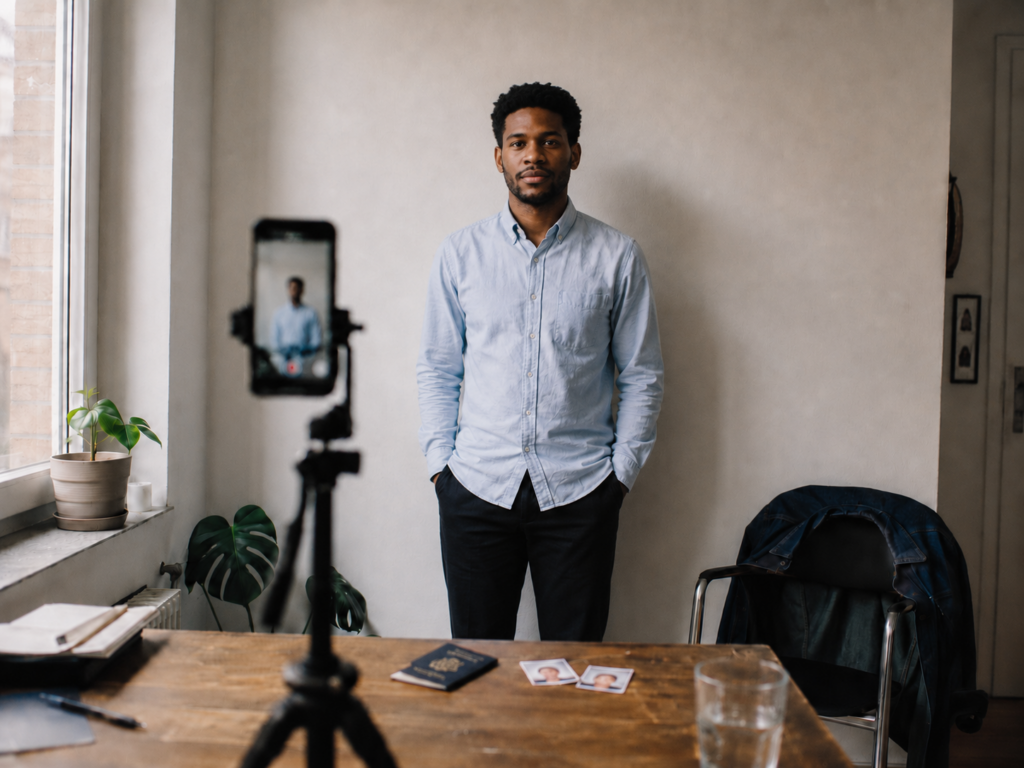
Taking a passport photo sounds easy until you try to do it at home.
The camera is usually not the problem. Most modern smartphones can capture more detail than an ID photo requires. The harder part is getting the background, head position, crop, dimensions, and file format right.
A photo can look clear and well lit but still be rejected. The face may sit too high in the frame, a faint shadow may appear on the wall, or the image may not match the required passport photo size.
An online passport photo maker can simplify these steps. After selecting the country and document type, the user uploads a photo and prepares it with a template designed for that application.
The process only takes a few minutes, but the final result still depends on the quality of the original photograph.
Start With a Clean Source Photo
A passport photo tool can help with cropping and formatting, but it cannot fully rescue a poor original image.
Start with a front-facing photo taken at eye level. Keep your head straight, your shoulders level, and your face evenly lit. Leave some space above your hair and around your shoulders instead of trying to frame the final passport photo while taking the picture.
The rear camera on a smartphone usually produces better results than the front-facing one. It also reduces the slight distortion that often appears in close-up selfies.
Ask someone else to take the photo when possible. When no one is available, place the phone on a tripod or another stable surface and use the timer.
Lighting matters more than many people expect. Soft daylight from a window is often enough, as long as you face the light. A bright window behind you may leave your face too dark, while direct sunlight can create harsh shadows or make you squint.
Use a plain wall as the background. It does not need to look like a professional studio, but shelves, door frames, artwork, and strong patterns should remain outside the frame.
Stand a short distance away from the wall as well. This helps prevent shadows from forming around your head and shoulders.
Take several pictures. One may be sharper than the others, and small differences in posture are easier to notice when the images are compared side by side.
Why Cropping Is More Complicated Than It Looks
Cropping a document photo involves more than trimming the edges of an ordinary portrait.
The face has to sit within a specific part of the frame. The head cannot appear too large or too small, and the amount of space above the hair may also matter. These measurements vary between countries and document types.
Doing this manually can be difficult, especially when the official instructions use a mix of millimeters, pixels, and head-size percentages.
A passport photo maker can make the process easier by applying a template for the selected document. Face-detection software helps position the eyes, chin, and top of the head within the required area.
This is often more practical than using a general photo editor. Standard editing software may allow you to crop the image, but it usually does not provide guidance on document-photo positioning.
Face detection is also useful when preparing several photos for the same application, since each image can be processed with the same template instead of measured separately.
The finished crop should still be reviewed carefully. Glasses, hair, uneven lighting, or a slight head tilt can affect how accurately the software detects and positions the face.
Convert the Image Into the Required Format
Once the crop and background are ready, the photo still needs to be prepared for the application.
There is no single passport photo size used everywhere. Requirements can vary between passports, visas, residence permits, driving documents, and identity cards. Even documents issued by the same country may use different dimensions.
Online applications often specify the required pixel dimensions, file format, and maximum file size. Paper applications may instead ask for one or more printed photos with exact physical measurements.
A passport photo converter can resize the image and create the appropriate output. Depending on the application, this may be a single digital file or a printable sheet containing several copies.
For example, IDPhotoDIY.com allows users to select a document format, upload a photograph, adjust the crop and background, and prepare the image for digital submission or printing. This is useful for anyone who needs a document photo without learning how to use a full photo-editing program.
Printed layouts should still be checked carefully. Printer settings such as “fit to page” may enlarge or shrink the image, even when the file looks correct on screen. Measure one copy before cutting the entire sheet.
For digital applications, open the finished image on a larger screen before uploading it. A small phone display can make a slightly blurred photo appear sharper than it really is.
Automation Helps, but the Final Check Is Still Yours
Passport photo tools can reduce the amount of manual work, but they do not replace the official instructions.
You still need to choose the correct country and document type. Selecting a passport template when the application requires a visa photo can produce the wrong format, even if the image itself looks fine.
Before submitting the photo, compare it with the examples provided by the relevant government department, embassy, consulate, or visa application center. Check the background color, head position, facial expression, image dimensions, and file requirements.
Rules for glasses and head coverings also vary. Some authorities do not allow glasses, while others may accept them as long as the eyes remain visible and there is no glare.
Requirements for infants can be more flexible, particularly when it comes to facial expression or eye position, but those exceptions differ between authorities.
Always use the latest official guidance rather than relying on a photo prepared for an older application.
Keep the Original Photograph
After creating the final version, save the original full-resolution image.
This is useful if another application requires a different crop, size, or file format. Starting again from the original usually produces a better result than repeatedly editing a compressed copy.
It also makes mistakes easier to fix. If the face was positioned too high or the wrong template was selected, the photo can be prepared again without taking a new picture.
Store the original securely, since it contains a clear image of your face. It is also worth reviewing the privacy policy of any online service before uploading personal photographs.
Final Check Before Submission
A final review only takes a minute.
Make sure the face is sharp, evenly lit, and correctly positioned. Look for shadows on the background, glare on glasses, blurred edges around the hair, or a crop that feels too tight.
Confirm the country, document type, dimensions, file format, and size requirements one last time. Then compare the finished photo with the official examples rather than with another passport image found online.
A smartphone and a browser-based passport photo maker can remove the need for a separate studio visit. The phone captures the image, while the software helps with cropping, background preparation, sizing, and output.
The tools make the process easier, but the applicant is still responsible for checking that the final photo meets the official requirements.
About The Author